In today’s dynamic retail and e-commerce ecosystem, small-quantity packaging has emerged as a game-changer for brands of all sizes. Startups rely on it to test new product lines without overinvesting; established businesses use it for limited-edition runs, seasonal promotions, or regional market trials; and artisanal brands leverage it to deliver personalized, niche experiences. Unlike large-scale offset printing - where setup costs and long lead times make small batches impractical - precision digital printing offers flexibility, speed, and consistent quality for low-volume projects. However, maximizing its value requires more than just choosing a digital press: success hinges on following targeted best practices to avoid common pitfalls like color mismatches, material waste, or design errors. This guide breaks down actionable strategies to ensure your small-quantity packaging meets your brand’s standards, stays on budget, and delights your customers.
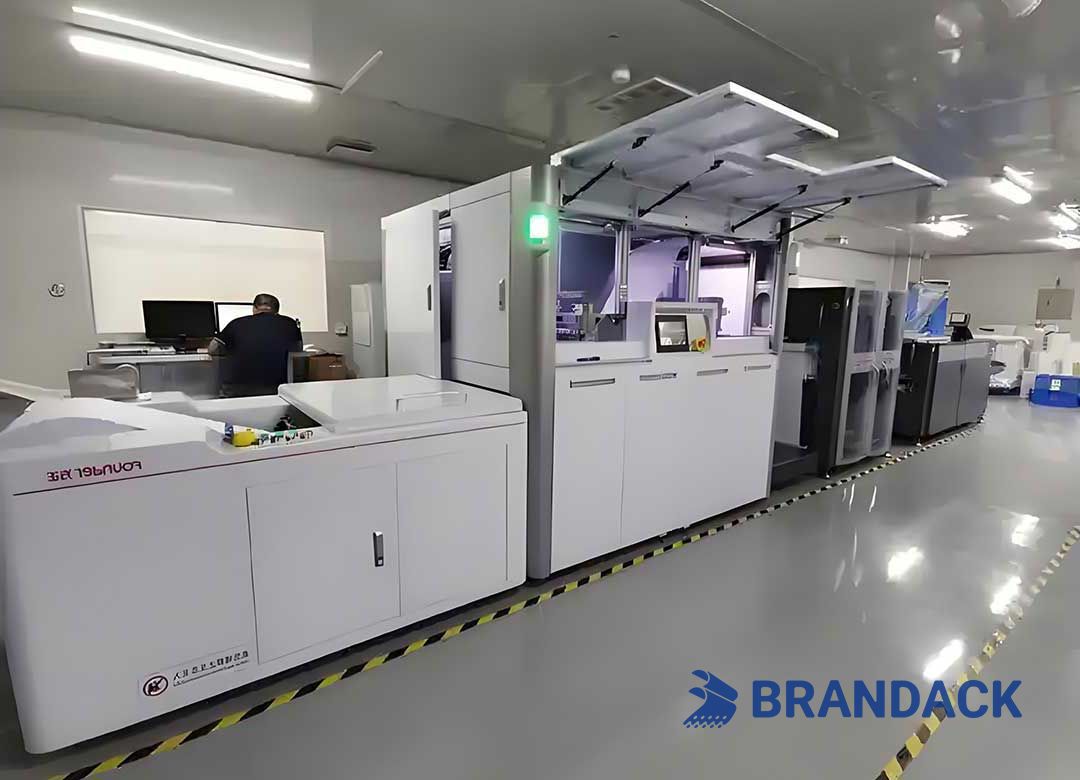
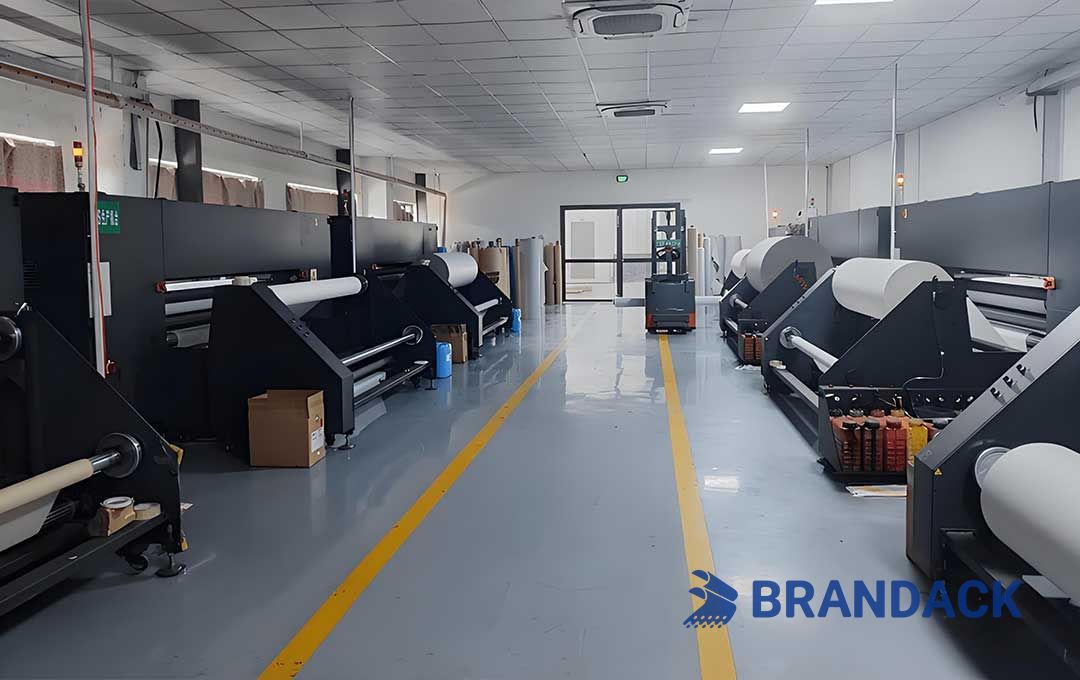
File Preparation: The Non-Negotiable Foundation
Digital printing’s accuracy starts with high-quality source files - and for small batches, where every unit counts, cutting corners here leads to costly reprints. Follow these rules to lay a solid groundwork:
Prioritize Resolution & File Formats: Use 300 DPI (dots per inch) for raster images (e.g., product photos, hand-drawn illustrations). Web-optimized 72 DPI files will appear pixelated when printed, ruining visual clarity. For vector graphics (logos, text, geometric shapes), save files as AI (Adobe Illustrator), EPS, or SVG - these formats retain sharpness at any size, avoiding blurriness even on small labels or compact boxes.
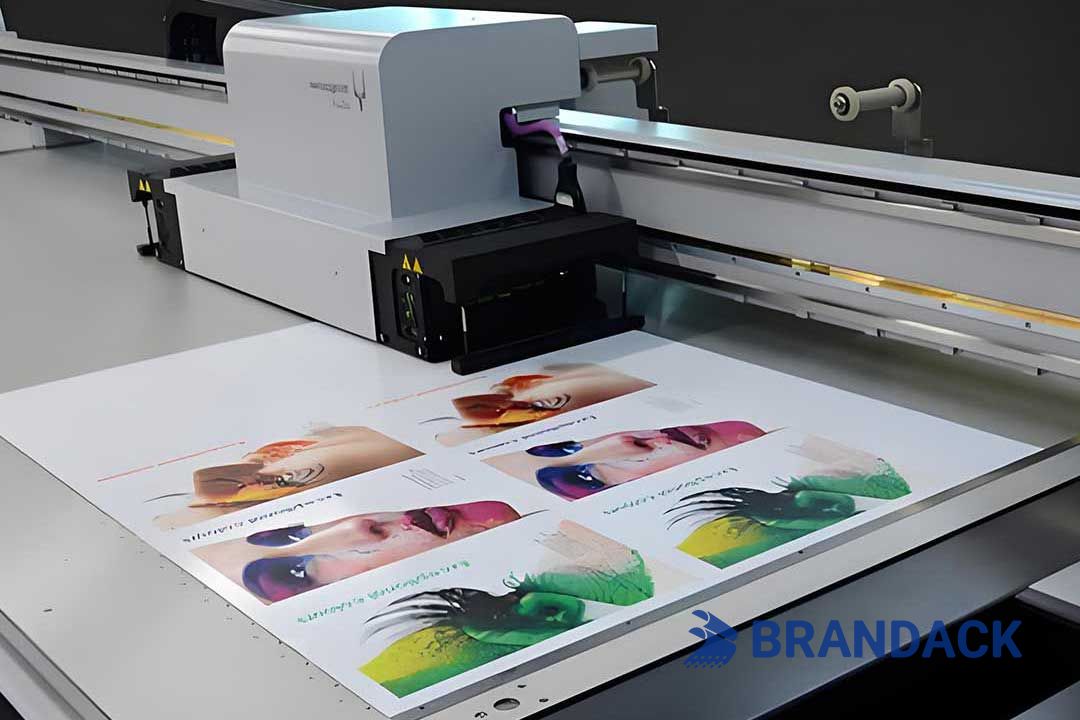
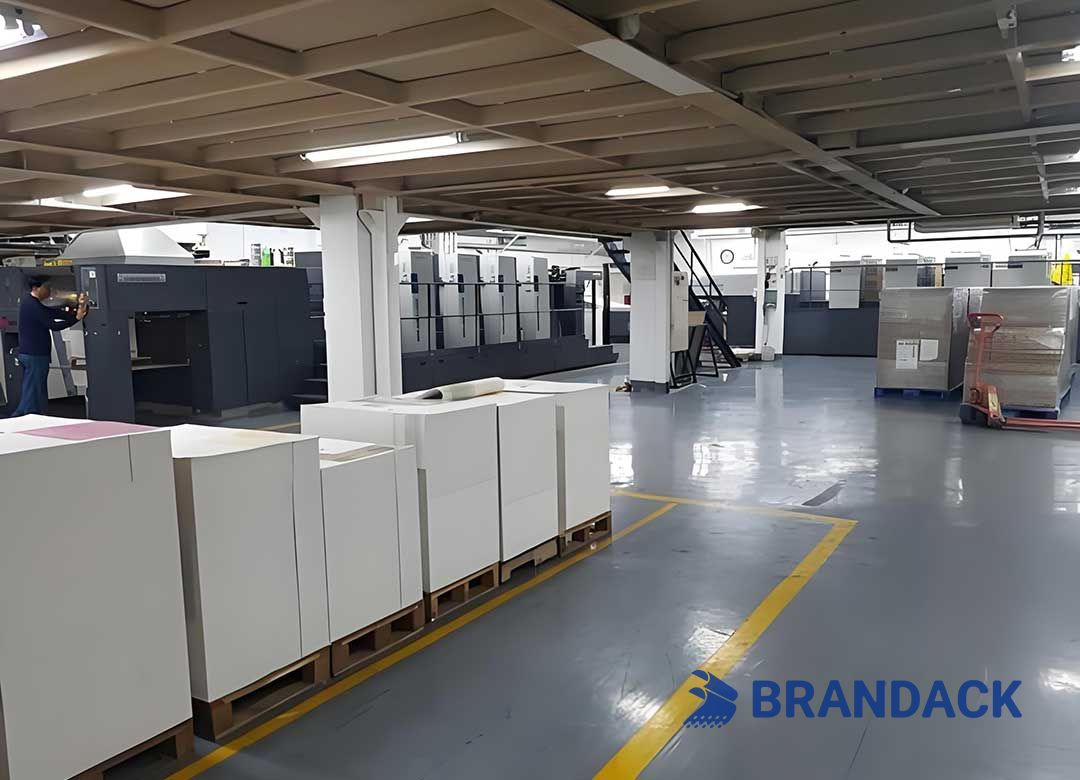
✅ Stick to CMYK Color Mode: Digital printers operate on CMYK (Cyan, Magenta, Yellow, Key/Black) technology, not RGB (Red, Green, Blue) - the color mode for screens. RGB includes “unprintable” hues that will shift drastically when converted to CMYK (e.g., a bright RGB red may become dull magenta in print). Always design and export files in CMYK to ensure what you see on screen matches the final product.
✅ Add Bleed & Safe Areas: Small-batch packaging (e.g., mini pouches, sample boxes) leaves no room for alignment errors. Include a 3mm bleed - extra design space beyond the final trim size - to prevent white borders if cutting is slightly off. Keep critical elements (text, logos, barcodes) within a 5mm “safe area” from the trim edge; this guarantees they won’t be cut off or partially hidden.
✅ Outline Text & Embed Fonts: To avoid font substitution (a common issue when printers don’t have your chosen font), convert text to vector outlines (in Illustrator: Select text > Type > Create Outlines) or embed fonts in PDF files. This ensures your brand’s typography stays consistent, even for tiny text (e.g., ingredient labels).
Material Selection: Match Substrates to Print & Brand Goals
The right packaging material doesn’t just hold your product - it enhances print quality and reinforces your brand identity. For small-quantity digital printing, not all substrates perform equally; here’s how to choose wisely:
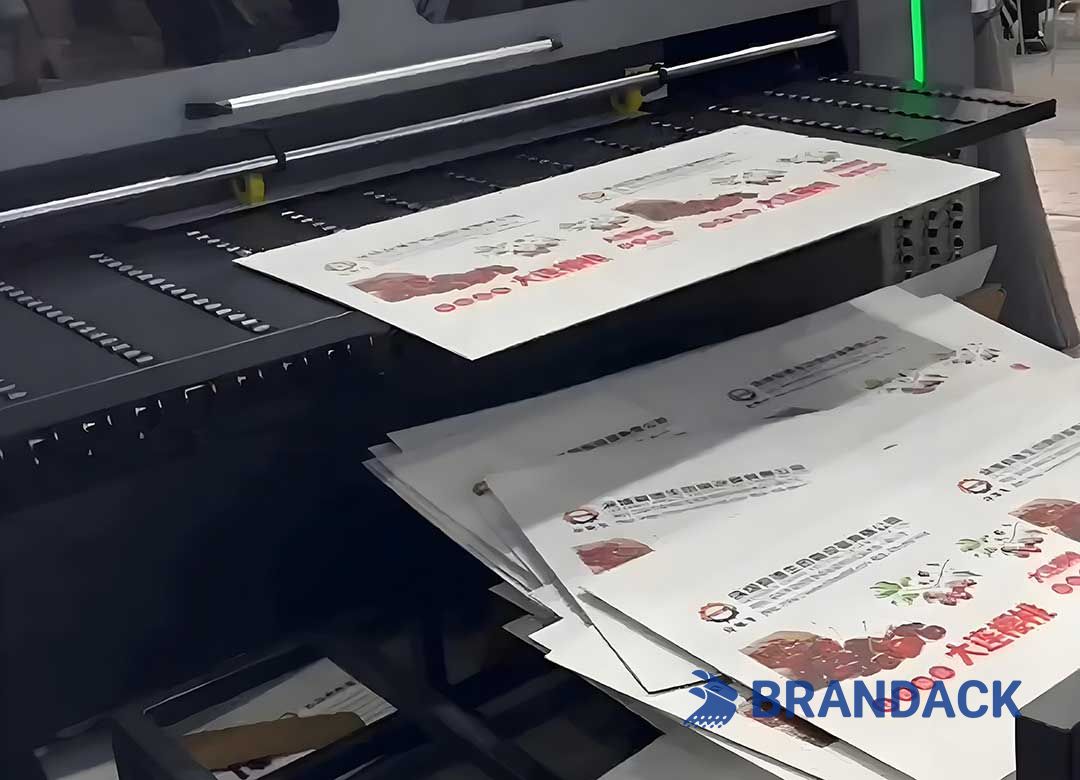
✅ Paper/Cardstock: Ideal for rigid packaging (e.g., gift boxes, product sleeves, folding cartons). Coated paper (matte or glossy) minimizes ink absorption, delivering vibrant colors and crisp details - perfect for brands wanting a premium look. Uncoated paper works for rustic or eco-friendly aesthetics but may require more ink to achieve bold hues (test samples first to avoid dullness).
✅ Plastic Films: Used for flexible packaging (e.g., snack pouches, cosmetic sachets). Opt for “print-ready” films (treated with a primer to boost ink adhesion); untreated films cause smudging, peeling, or faded colors - critical flaws for small batches where every unit is visible to customers.
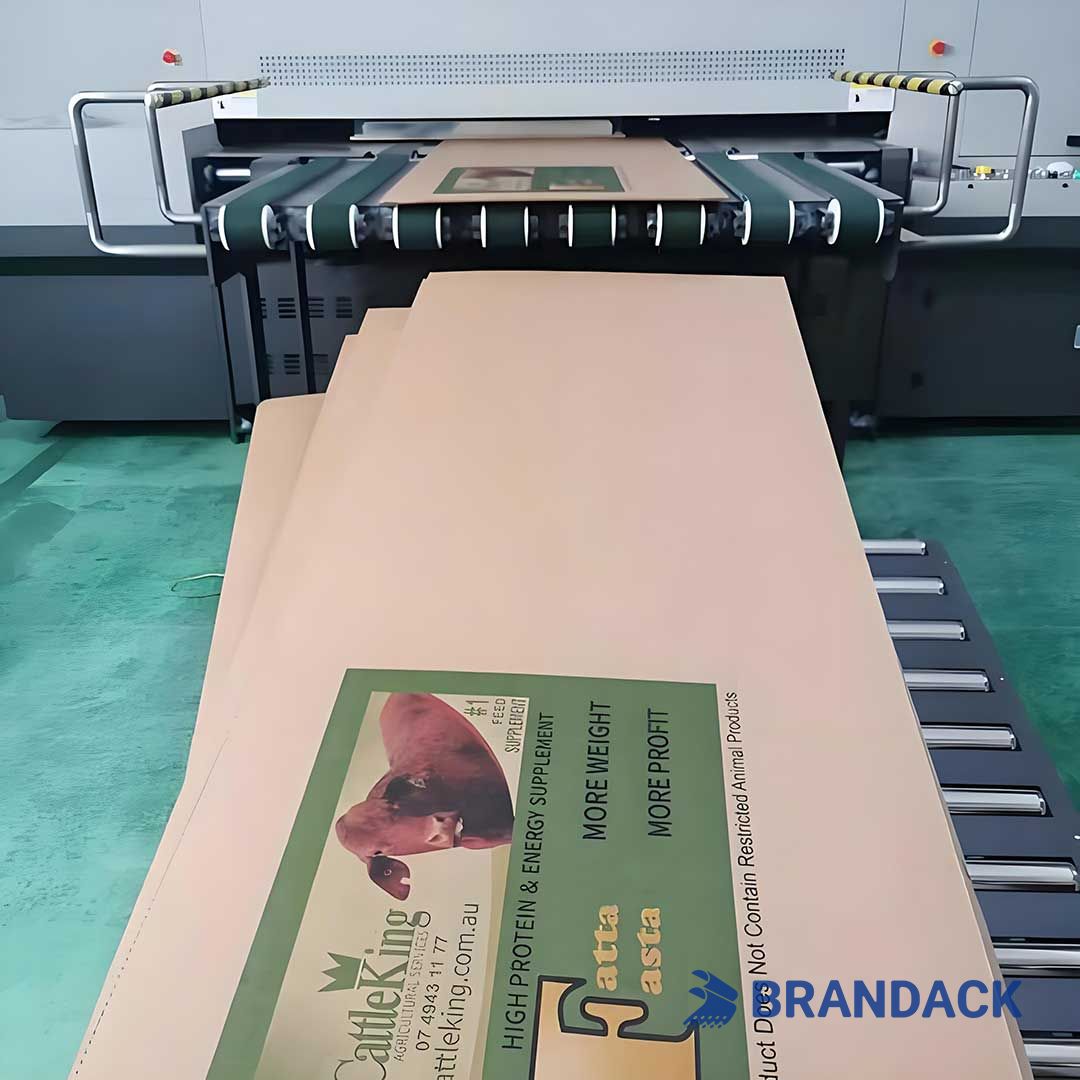
✅ Corrugated Board: Great for shipping boxes or display stands. Choose E-flute or B-flute corrugate (thinner, smoother liners) over A-flute (thick, textured) for better print detail. Thicker liners can create uneven ink application, making logos or text look blurry on small boxes.
✅ Test First, Print Later: Always request a material sample print before full production. This reveals issues like ink bleed (on uncoated paper), poor adhesion (on plastic), or color dullness (on dark substrates) early - saving you from wasting time and money on defective batches.
Color Management: Ensure Consistency Across Runs
For brands using small-batch packaging (e.g., restocking limited-edition labels), color consistency is key to maintaining brand recognition. A “brand red” that shifts from batch to batch confuses customers - here’s how to avoid it:
✅ Calibrate Equipment: Partner with a printer that regularly calibrates their digital presses, monitors, and scanners. Calibration ensures devices interpret color values uniformly; without it, a press may print cyan too dark or magenta too light, even with perfect files.
✅ Use Custom ICC Profiles: Ask your printer for an ICC (International Color Consortium) profile tailored to your project. ICC profiles map color values between your design software, the printer’s monitor, and the press - eliminating discrepancies. For example, if your brand uses a specific Pantone color, an ICC profile ensures the digital press replicates it accurately (not a “close enough” CMYK mix).
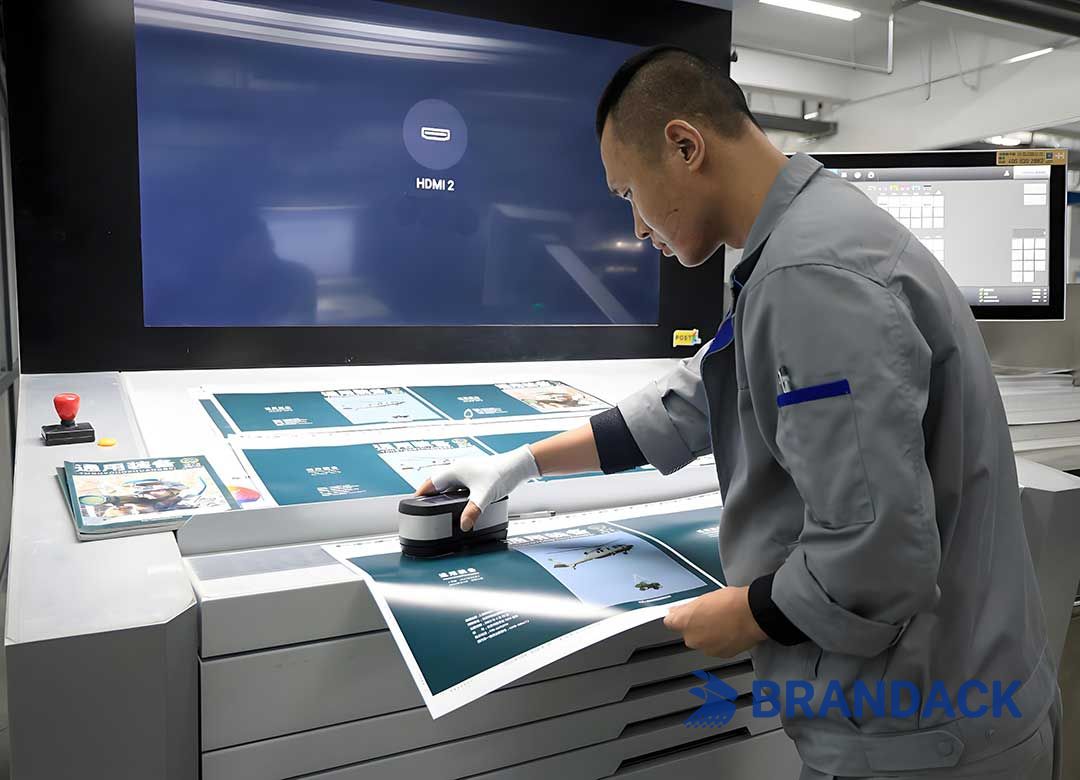
✅ Approve Physical Proofs: Never sign off on a digital preview alone. A physical proof (a printed sample of your packaging) lets you inspect color accuracy in real-world light (e.g., retail store lighting vs. your office screen). Check for subtle shifts - e.g., a “soft blue” that looks gray - and request adjustments before production.
✅ Document Color Standards: Once you approve a proof, ask your printer to save the color settings for future runs. This ensures reorders (even months later) match the original batch, maintaining brand consistency.
Design Optimization: Tailor for Small-Scale Digital Printing
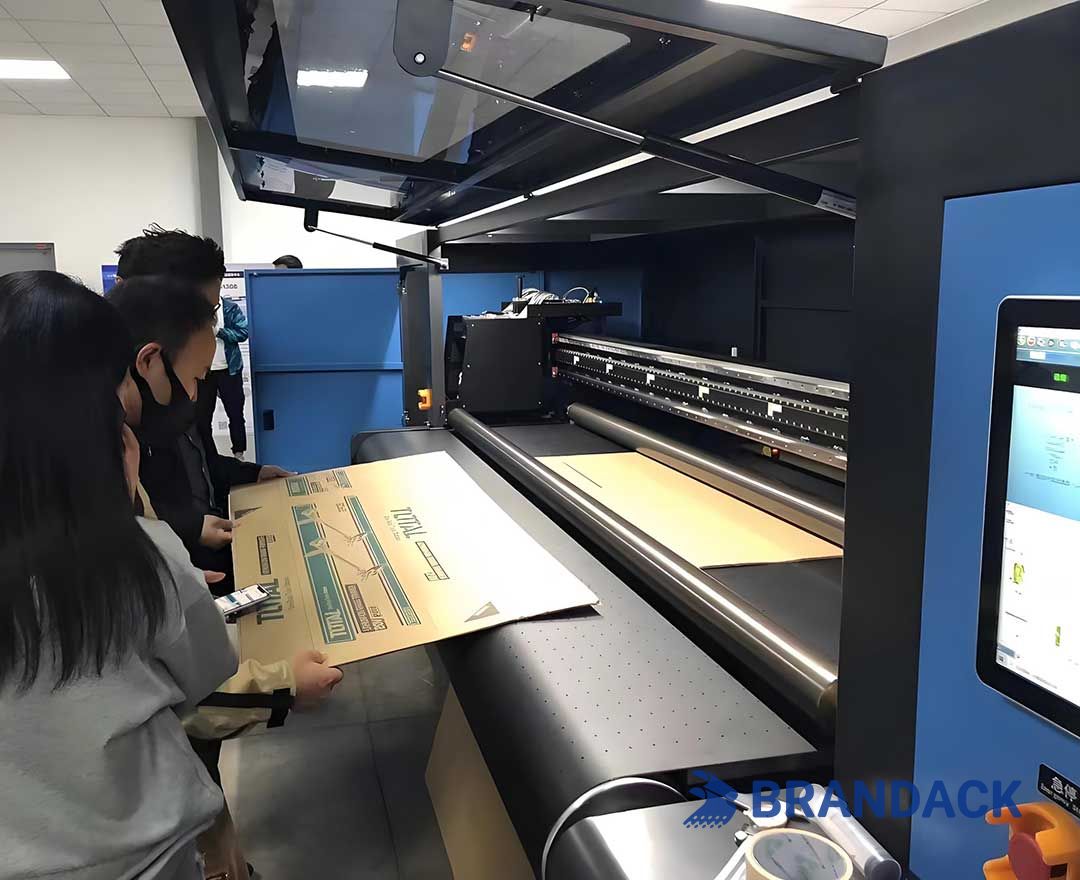
Small-quantity packaging often has limited space (e.g., 2x3-inch sample labels, mini gift boxes). Optimizing your design for digital printing’s capabilities ensures readability, visual appeal, and efficiency:
✅ Avoid Overly Small Text: Fonts smaller than 6pt may be unreadable, especially on textured materials (e.g., uncoated paper). Use bold or sans-serif fonts (e.g., Arial, Helvetica) for better legibility - serif fonts (e.g., Times New Roman) can blur at small sizes.
✅ Simplify Gradients & Patterns: Digital printers handle gradients well, but extreme color transitions (e.g., white to black) can cause “banding” (visible lines) in small batches. Keep gradients subtle, or test them in proofs to ensure smoothness. Similarly, complex patterns (e.g., tiny florals) may lose detail on small packaging - opt for larger, bolder designs instead.
✅ Limit Layers: Too many overlapping design layers (e.g., text over photos over patterns) slow down printing and increase the risk of misalignment. Merge non-essential layers in your design software, and ensure opaque elements don’t block critical information (e.g., a dark pattern covering ingredient text).
✅ Align with Post-Press Processes: If your packaging requires die-cutting (e.g., custom-shaped boxes) or laminating (e.g., glossy labels), design with these steps in mind. For example, avoid placing text too close to die-cut edges (it may tear during cutting) or using metallic inks under laminates (they can lose their sheen).
Workflow & Quality Control: Streamline for Speed & Accuracy
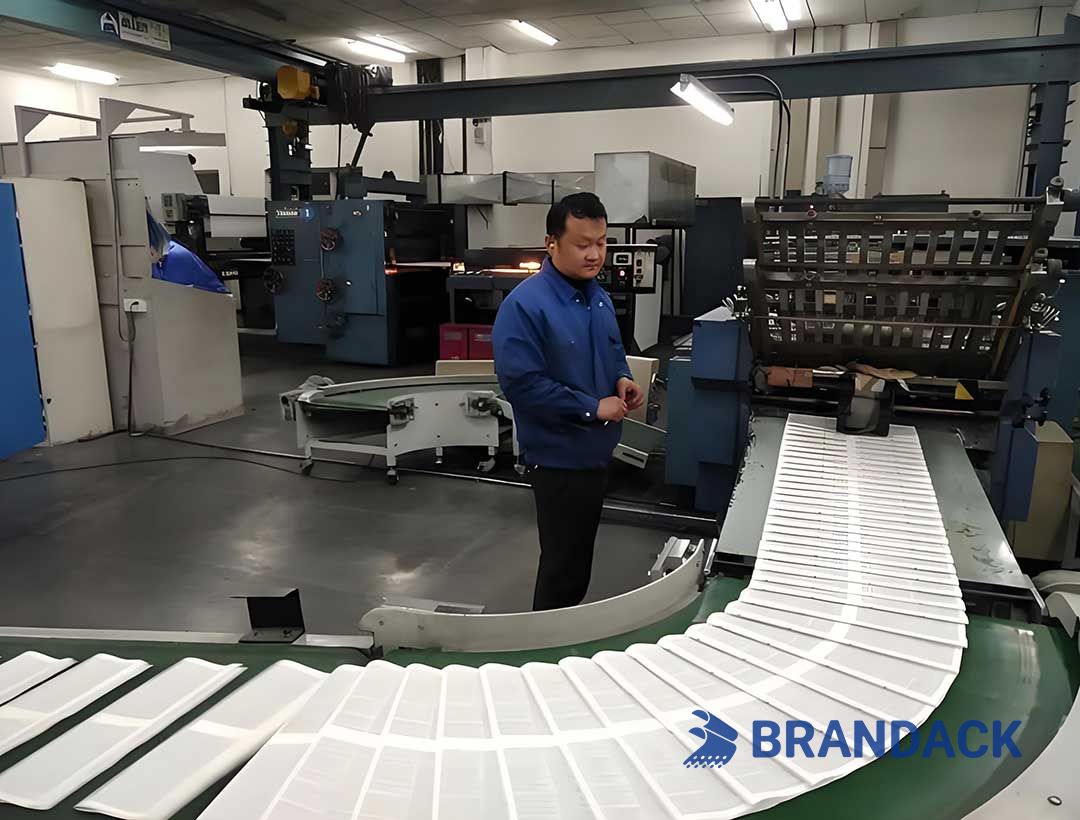
Small-batch projects often have tight deadlines (e.g., a pop-up shop opening, a holiday promotion). A streamlined workflow and strict quality control keep your project on track:
✅ Choose a Printer with Prepress Checks: Look for a partner that offers automated or manual prepress reviews. These checks catch issues like missing bleed, RGB colors, or low-resolution images before printing - saving you from last-minute delays.
✅ Prioritize Fast Turnaround: Digital printing’s biggest advantage is speed (no plate setup like offset). Choose a printer that offers 1 - 3 business day turnaround for small batches - avoid providers with 5+ day lead times, as they defeat the purpose of small-scale flexibility.
✅ Implement Batch-Level QA: For small quantities (e.g., 50 - 500 units), inspect every package - not just a sample. Check for:
✅ Visual flaws: Smudges, ink spots, or misaligned designs.
Dimensional accuracy: Use calipers to ensure trim sizes match your specs (even 1mm off can ruin a custom fit).
✅ Adhesion: For labels or laminated packaging, do a “tape test” (apply clear tape, then peel it off) - ink or laminate should stay in place.
✅ Communicate Clearly: Share your goals (e.g., “this packaging is for a trade show”), timeline, and feedback (e.g., “the logo needs to be 10% darker”) upfront. A good printer will update you on production progress and alert you to issues (e.g., a material shortage) early - avoiding surprises.
Why Choose Digital Printing for Small Batches?
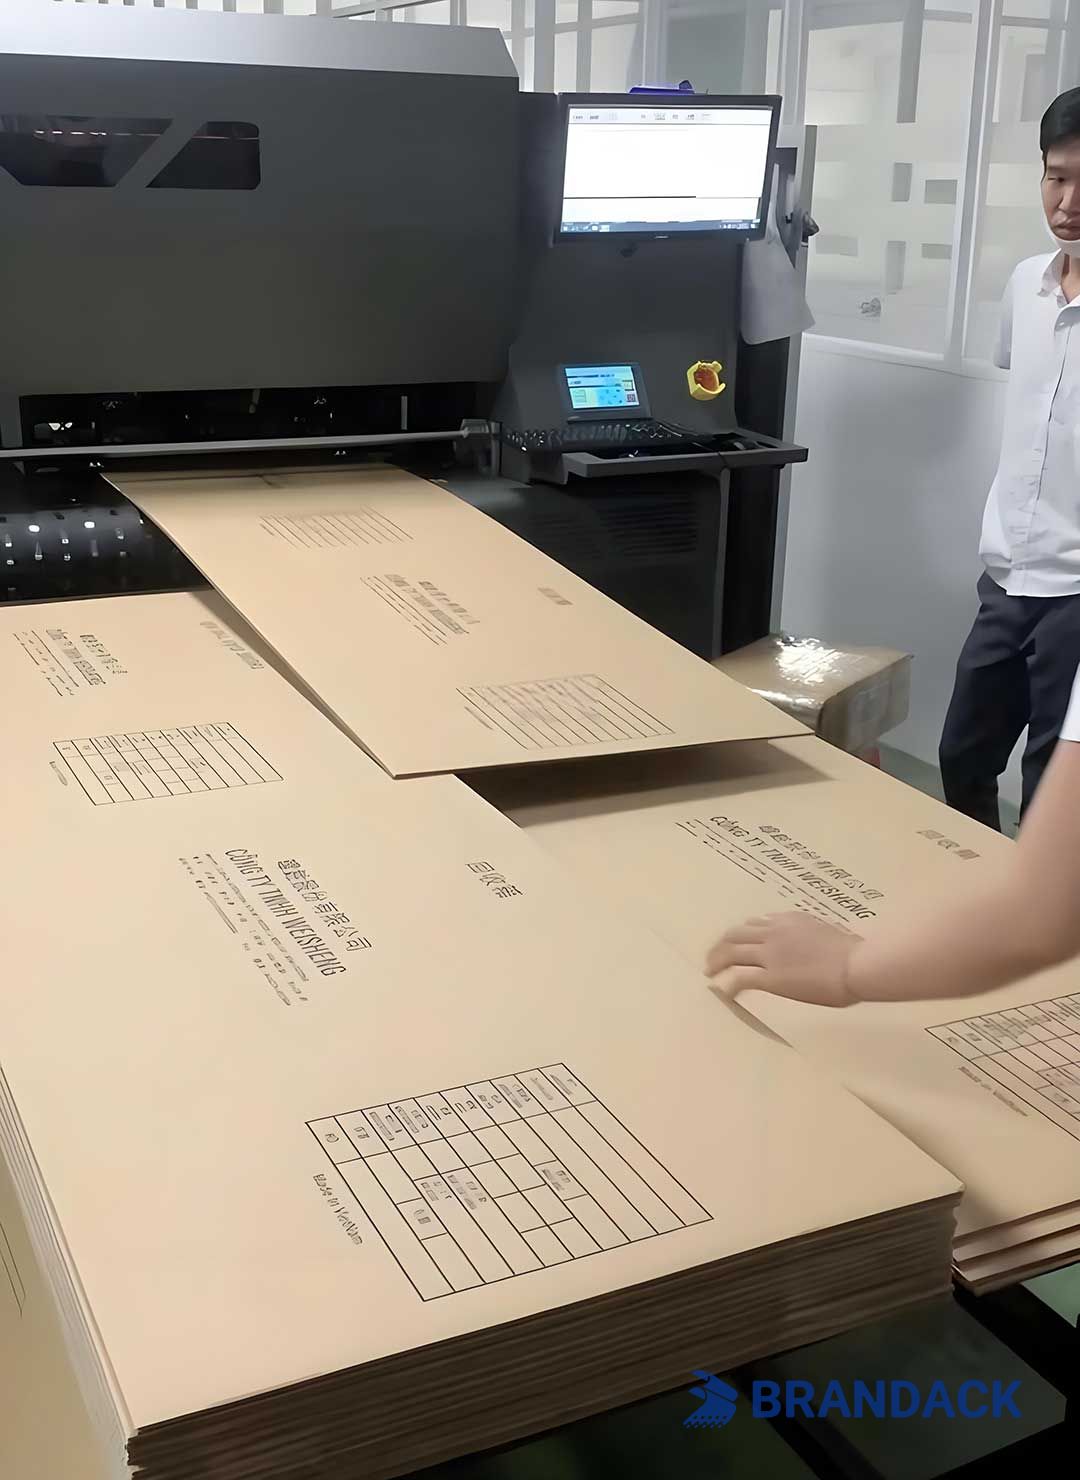
Digital printing transforms packaging prototyping and production by enabling:
✦ Cost-Effective Short Runs: Eliminate high setup costs and minimum order constraints.
✦ Rapid Turnaround: Ideal for tight deadlines and agile marketing responses.
✦ Customization & Personalization: Tailor designs for specific audiences or regions.
✦ Reduced Waste: Print only what you need, supporting sustainable practices.
Elevate Your Small-Batch Packaging with Precision
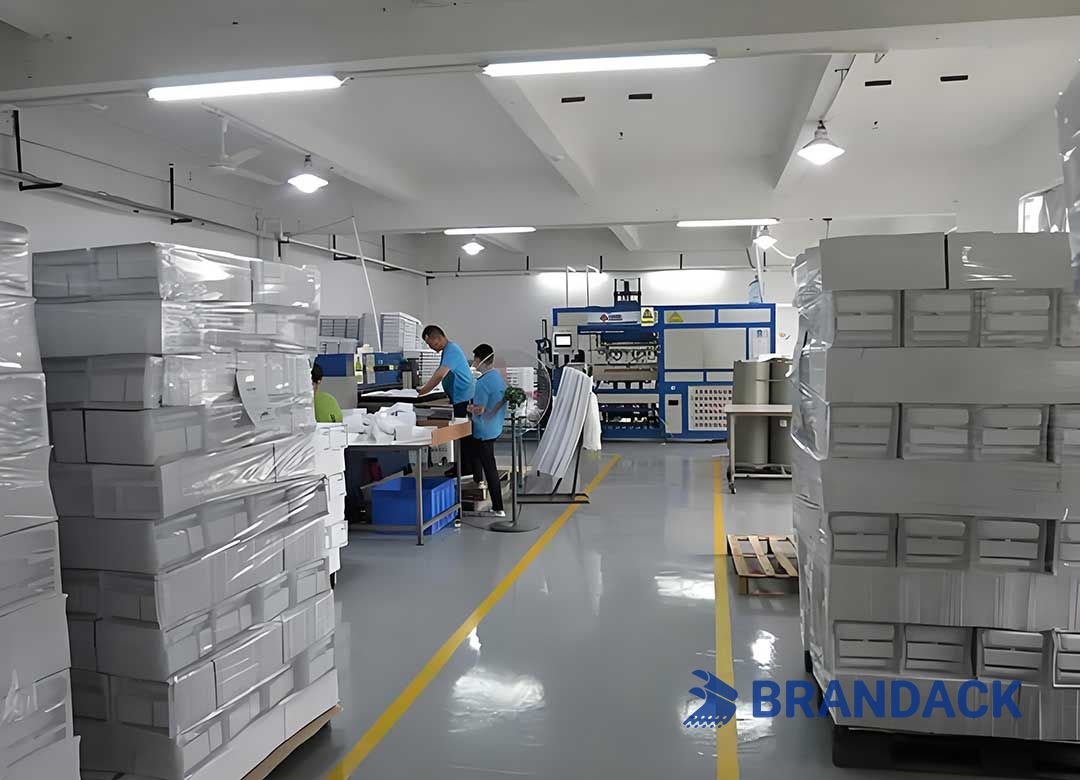
Small-quantity packaging doesn’t have to be a compromise - with precision digital printing and these best practices, you can create high-quality, on-brand packaging that rivals large-scale production. By focusing on file preparation, material matching, color consistency, design optimization, and strict quality control, you minimize risks, reduce costs, and deliver packaging that resonates with your customers.
Whether you’re a startup launching your first product or a brand testing a new market, this guide equips you to make the most of your small-batch digital printing project. Explore our knowledge base for more resources - including material trend guides, design templates, and digital printing technology overviews - or contact our team to discuss your unique needs. We’re here to turn your vision into packaging that stands out.


