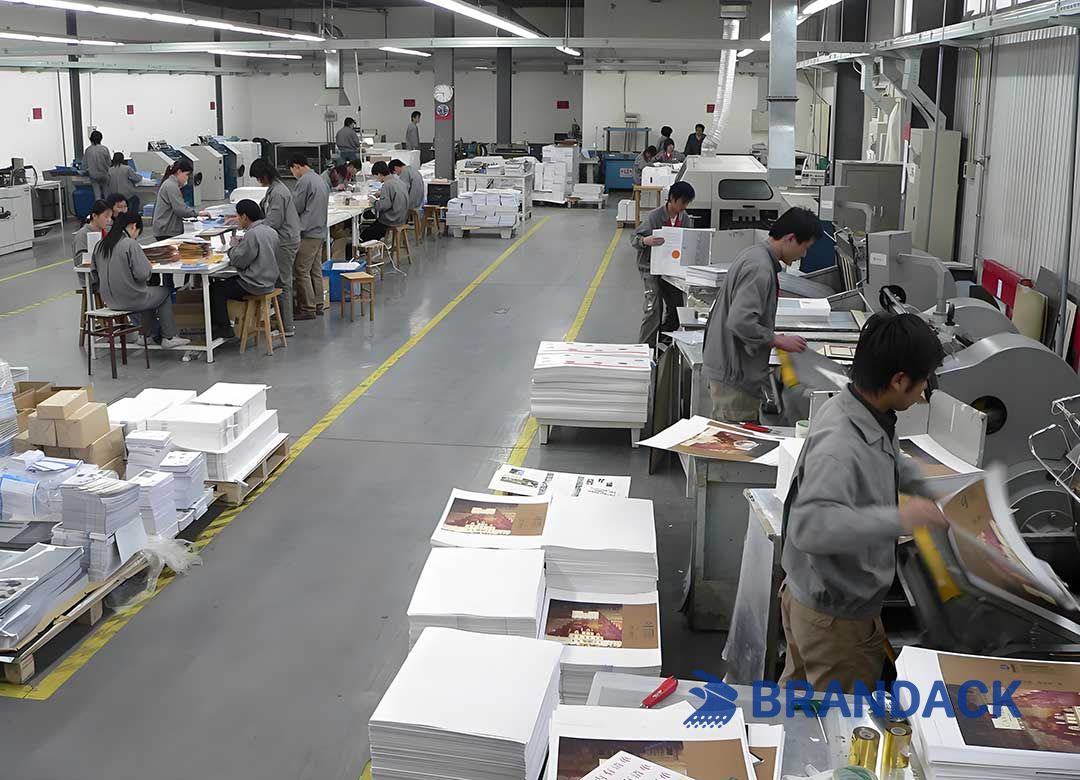
Silkscreen printing remains a top choice for custom branding and decoration, valued for its versatility (working on apparel, packaging, promotional goods, and even industrial components) and long-lasting results. For businesses aiming to achieve consistent, professional prints that align with their brand identity, grasping the custom screen printing workflow and strict quality control (QC) protocols is essential. This knowledge base simplifies these essentials, helping you collaborate confidently with your printing partner and ensure your projects succeed.
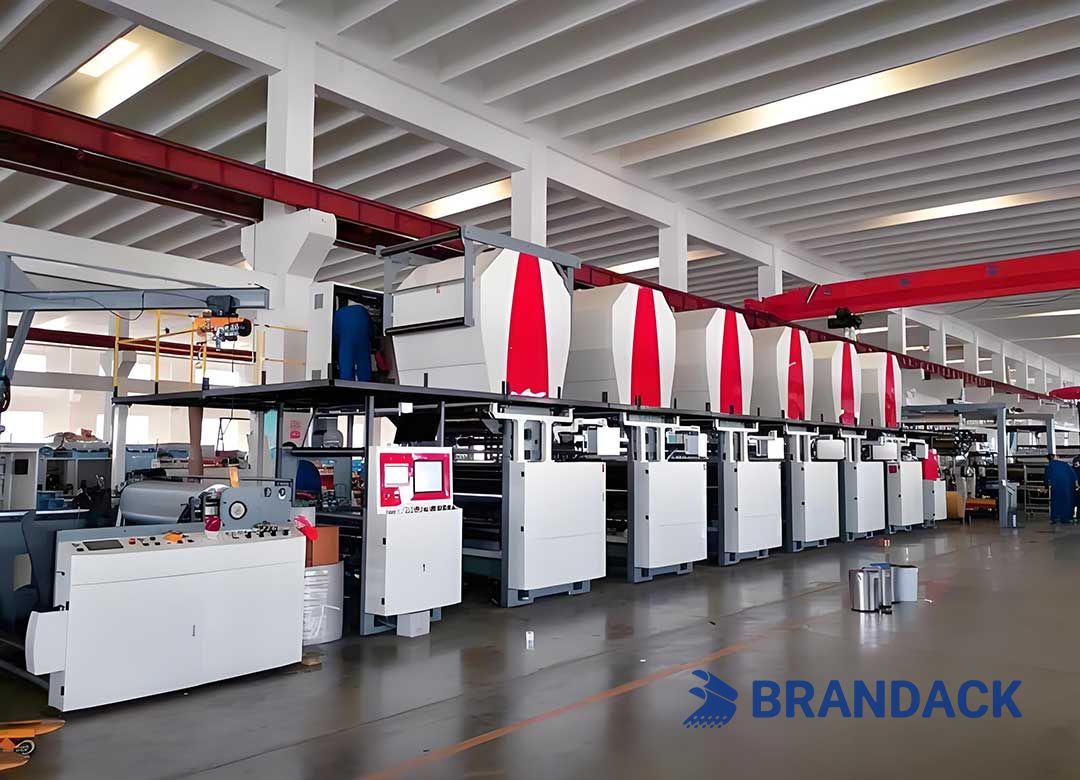
1. Core Custom Screen Printing Processes
Every high-quality custom print starts with a structured, detail-focused process. Below are the key steps, each critical to final results:
1.1 Design Preparation & Optimization
The design phase sets the foundation. For sharp, accurate prints:
Use vector graphics (e.g., AI, EPS files) or high-resolution raster images (300+ DPI) to avoid blurriness.
Adjust designs for the substrate (e.g., simplify fine text for fabric prints, account for curved surfaces on packaging).
Confirm color compatibility: Reference Pantone Matching System (PMS) codes to ensure brand color accuracy, as RGB/CMYK values may shift in screen printing.
1.2 Screen Mesh Fabrication
The screen (or "mesh") is the heart of the process - its quality directly impacts detail:
Choose mesh count based on design complexity: 110-156 mesh for bold graphics (e.g., packaging logos), 200-305 mesh for fine details (e.g., small text on promotional items).
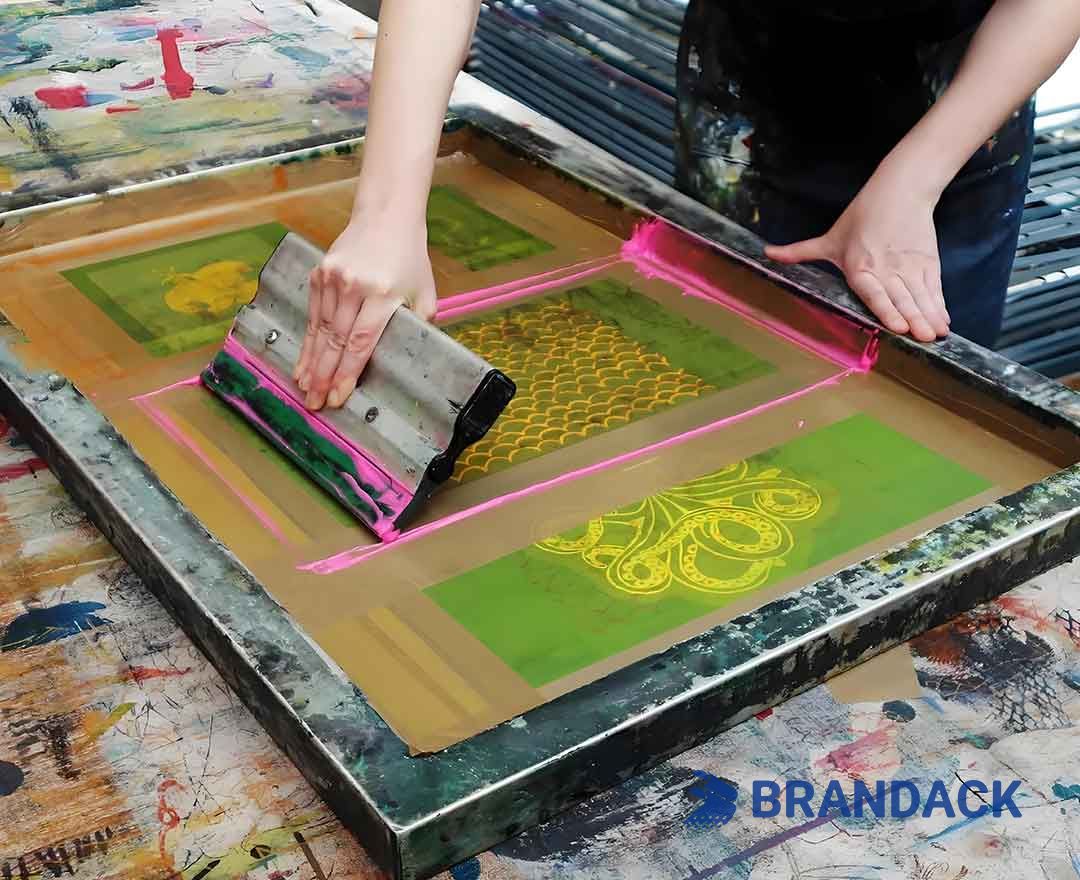
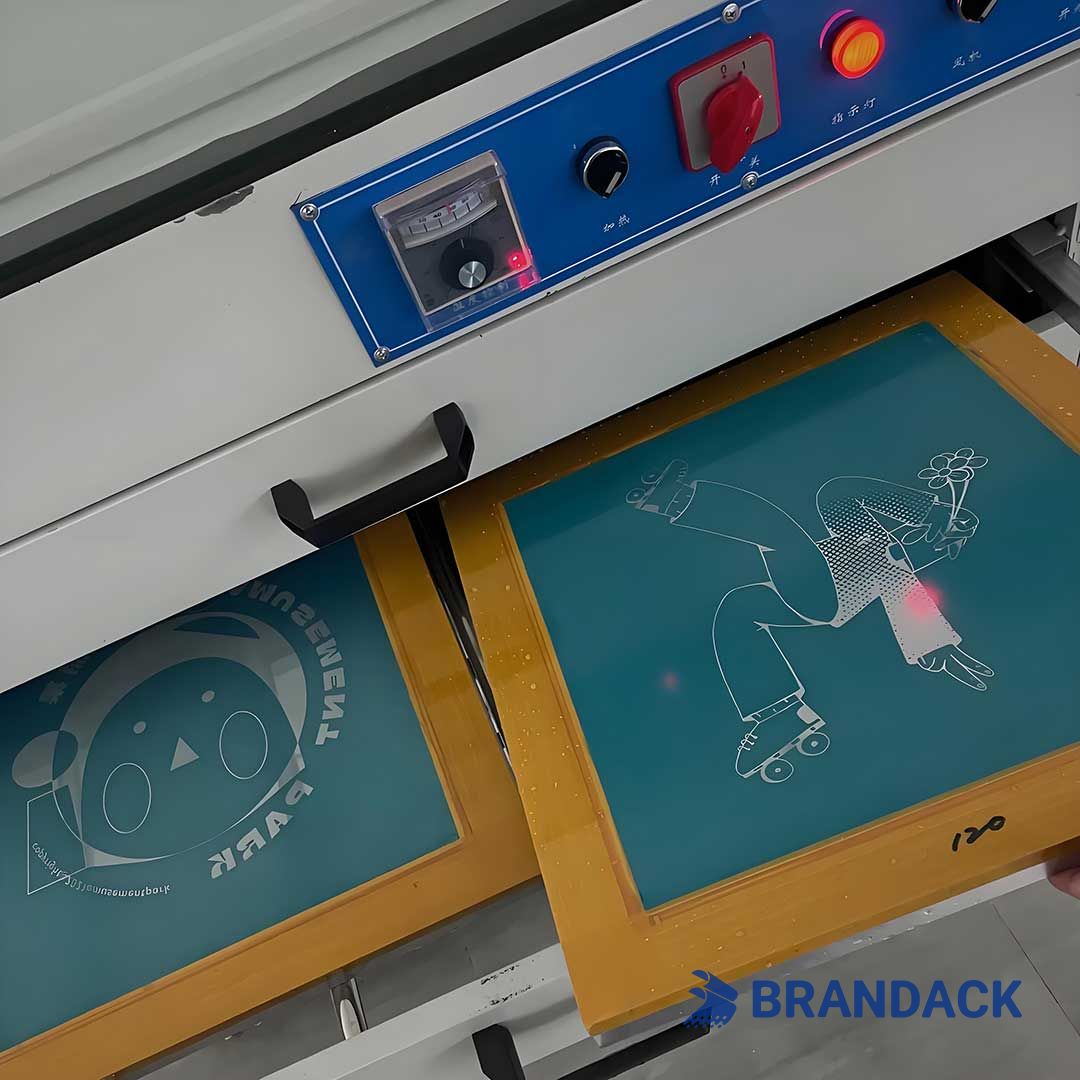
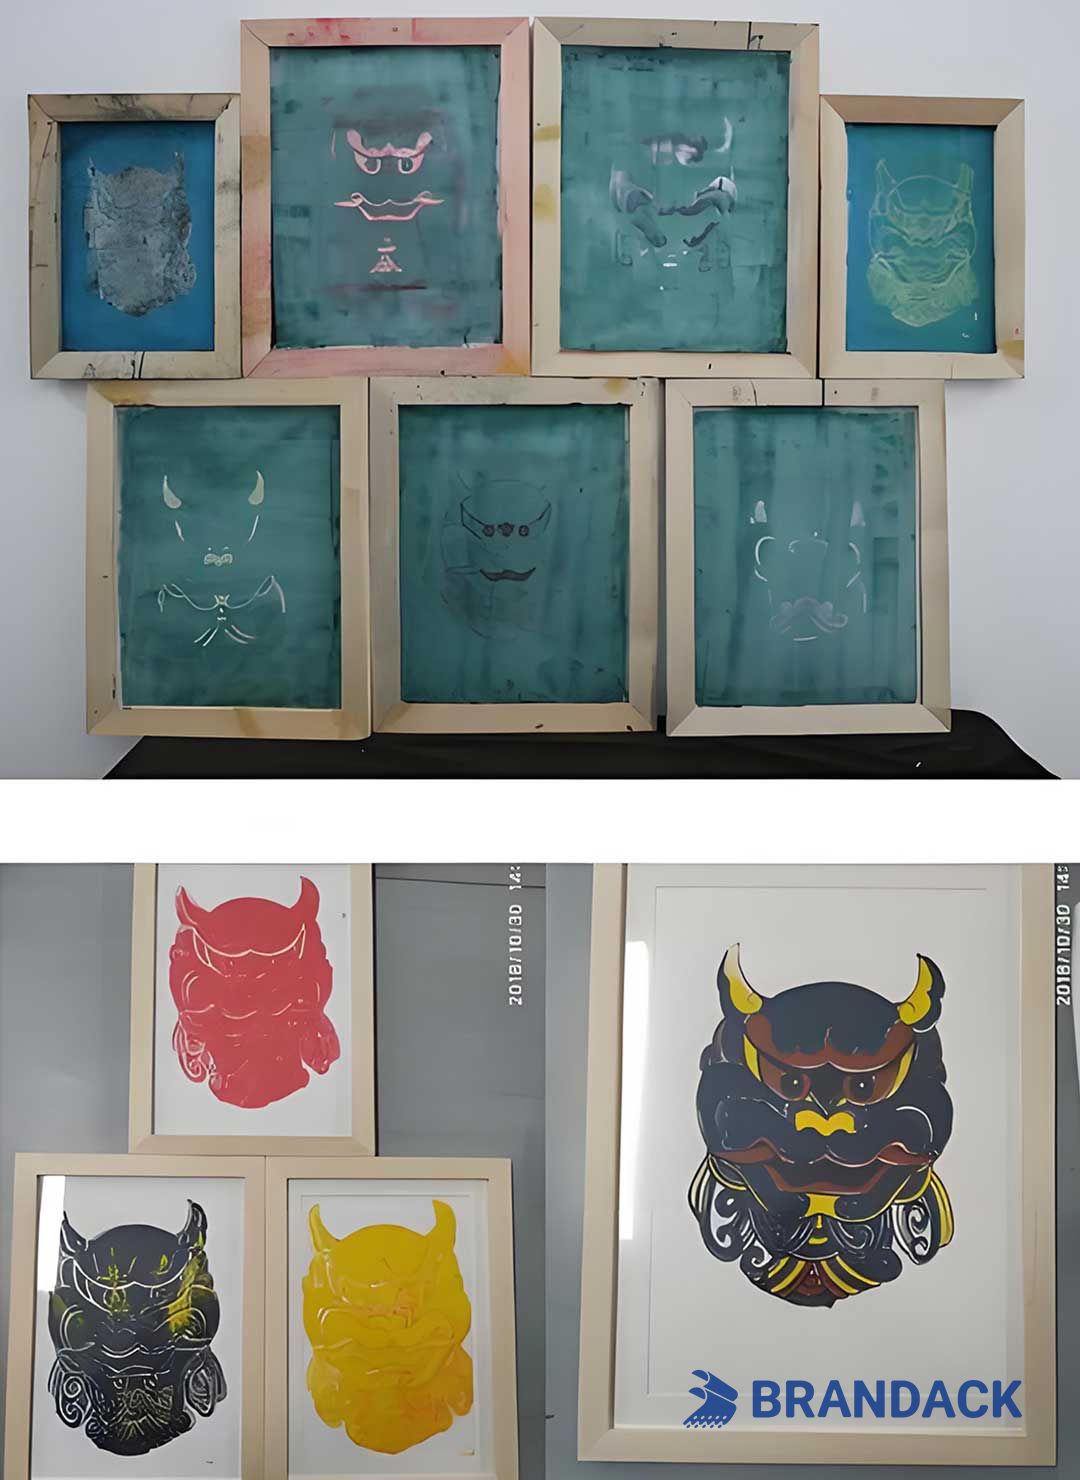
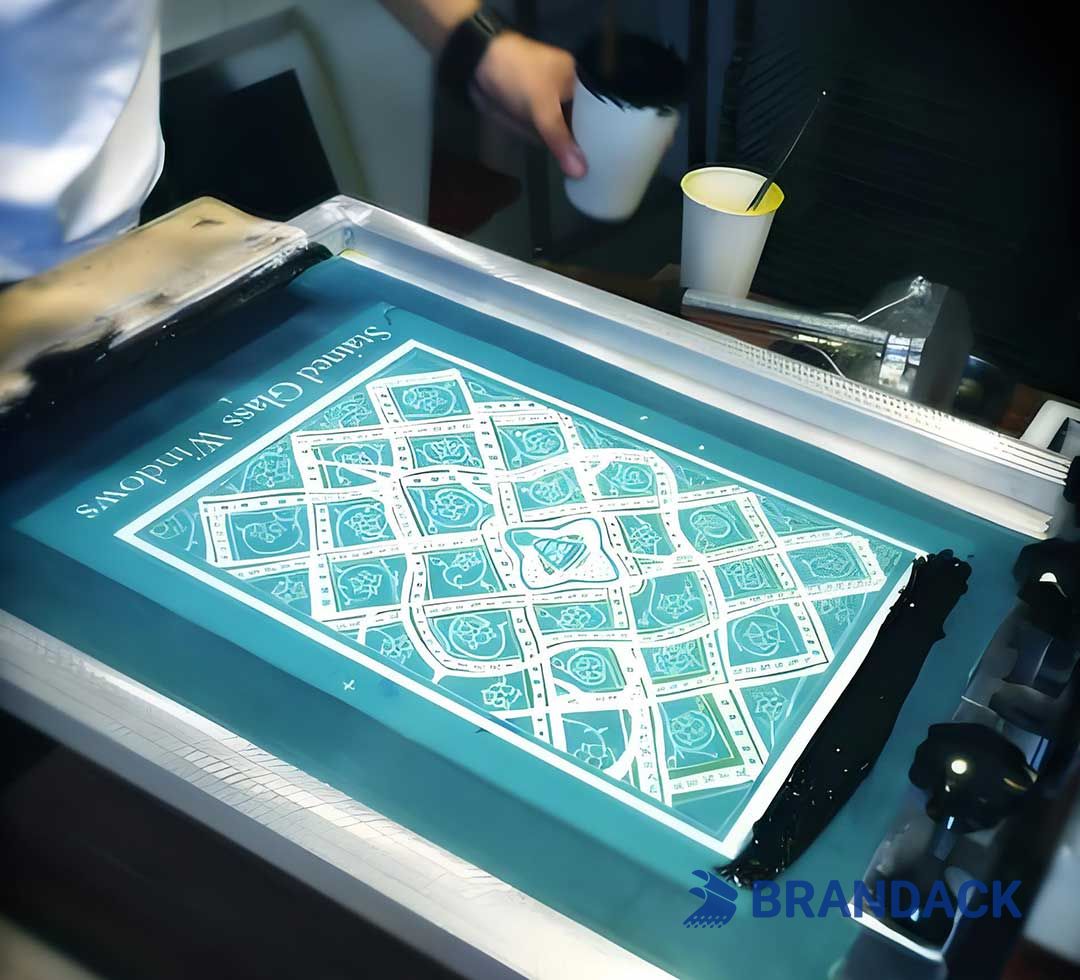
Coat the mesh with photosensitive emulsion, then expose it to the optimized design. Unhardened emulsion is washed away, leaving a stencil of your design.
Test mesh tension (ideal: 25-35 N/cm²) to prevent stretching, which causes misalignment in prints.
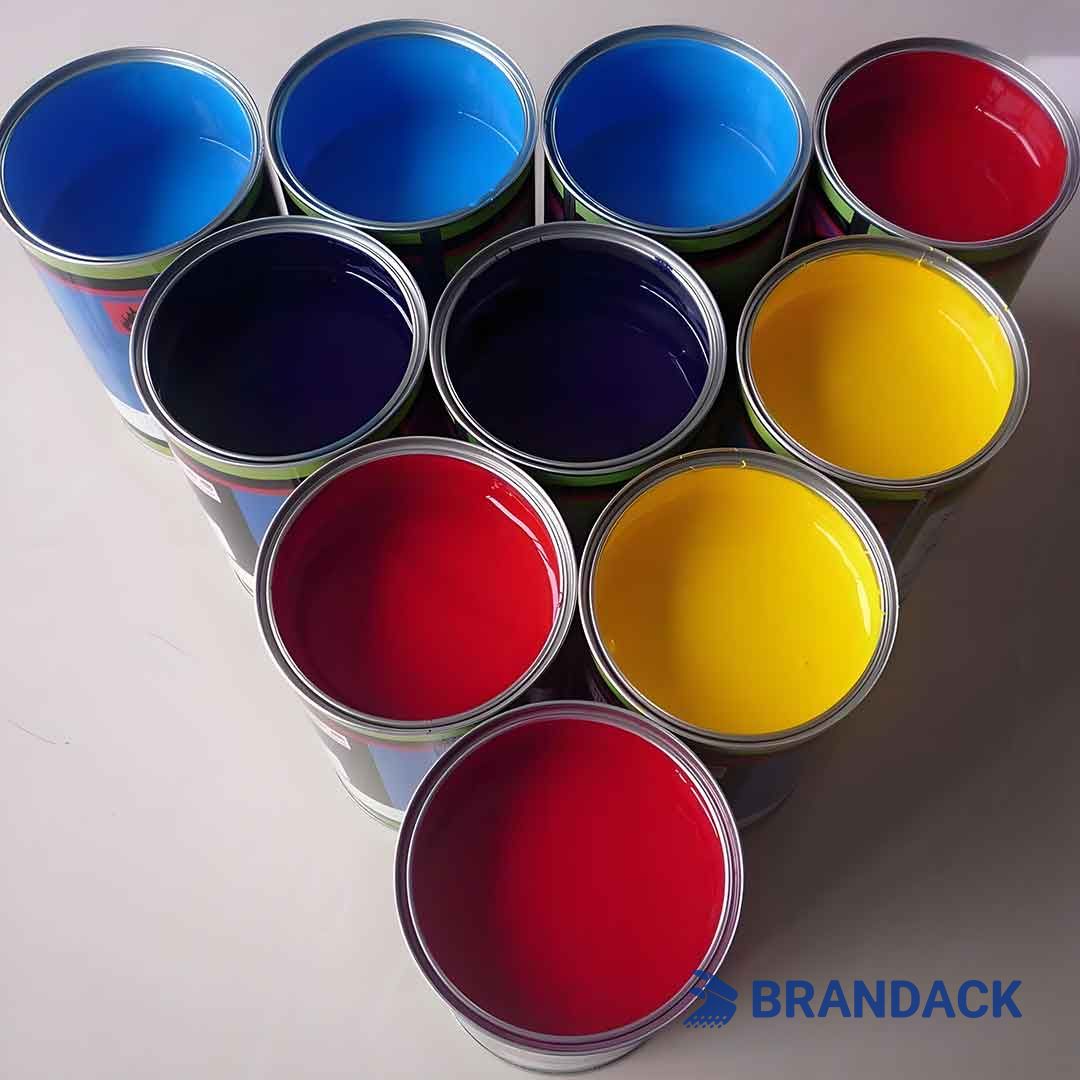
1.3 Ink Customization & Mixing
Ink selection must match both the substrate and desired durability:
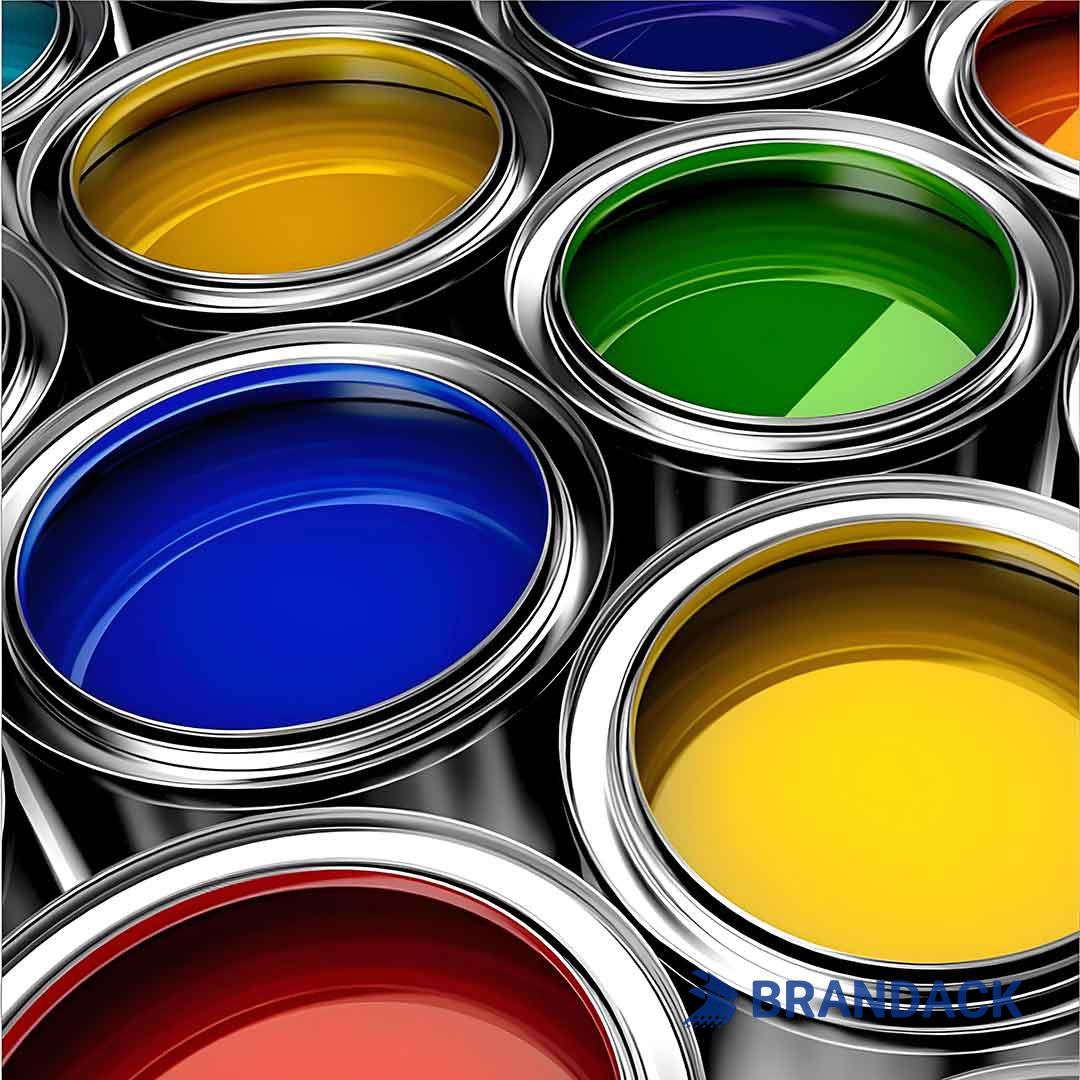
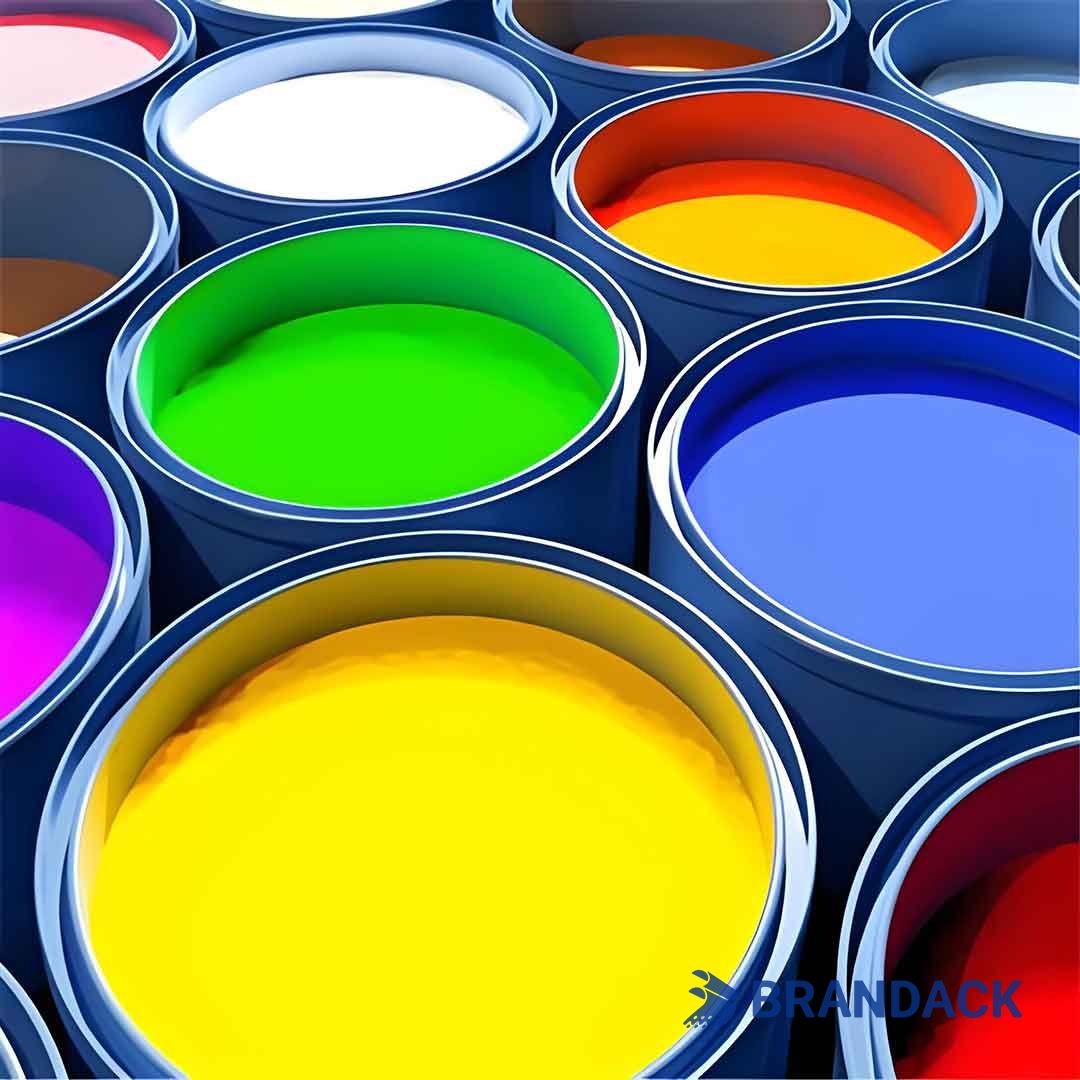
For fabrics (e.g., apparel packaging inserts), use water-based or plastisol inks; for plastics/metals (e.g., rigid packaging), choose solvent-based or UV-curable inks.
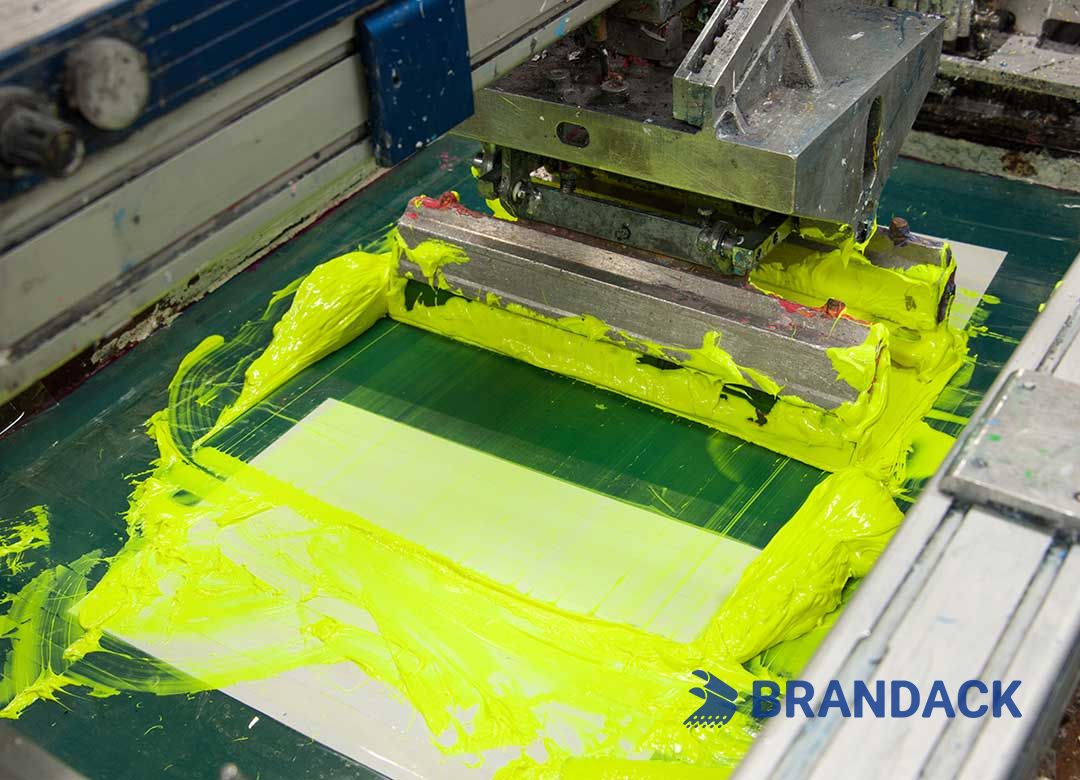
Mix inks to match PMS codes, adding additives (e.g., thickeners for texture, flexibilizers for stretchy substrates) as needed. Test a small swatch to confirm color and adhesion.
1.4 Printing Execution
Precision here avoids defects like smudges or misprints:
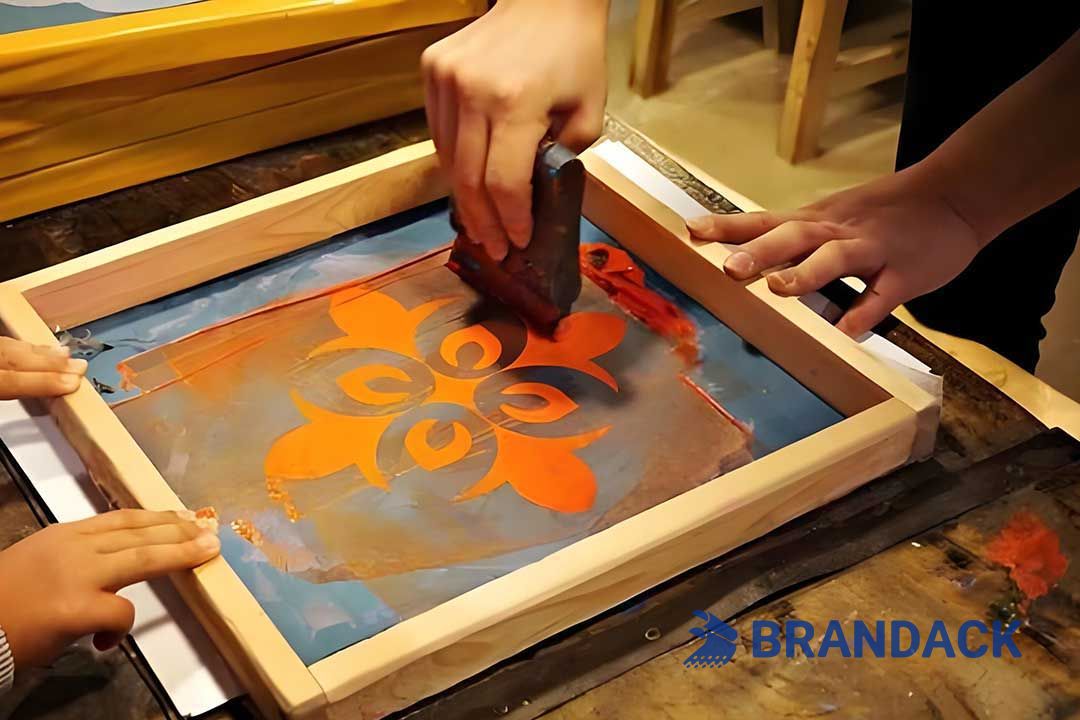
Secure the substrate (e.g., packaging panels, fabric sheets) to the printing bed to prevent movement.
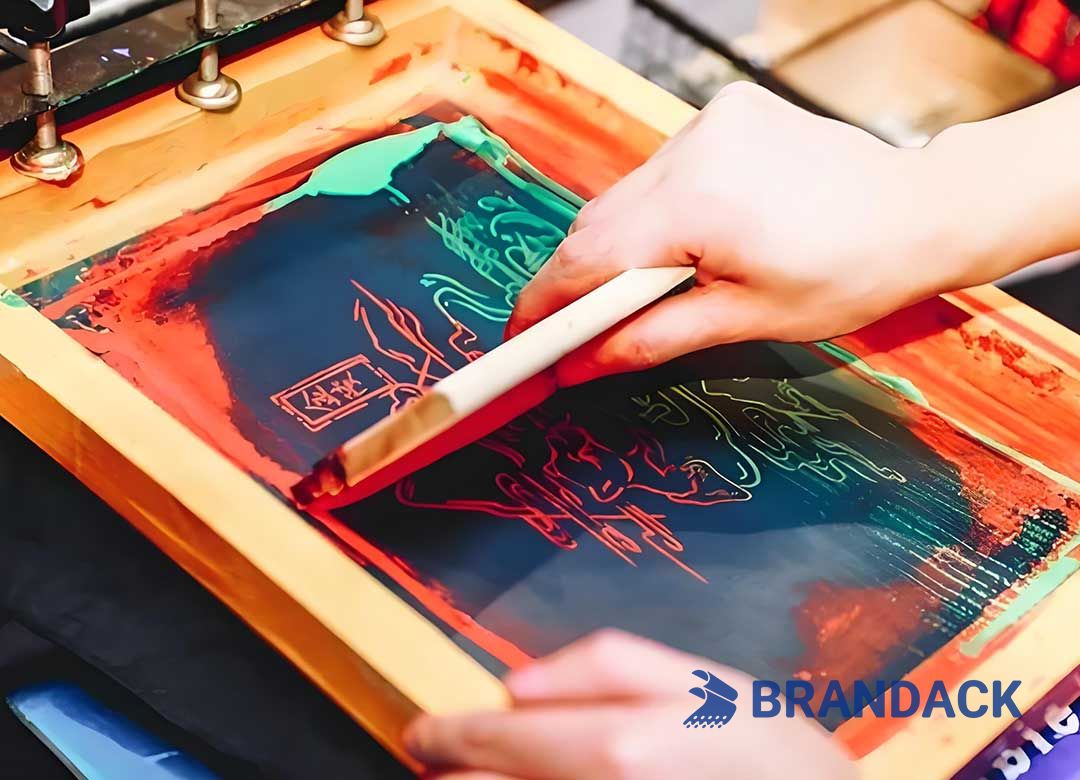
Align the screen with the substrate (use registration marks for multi-color prints).
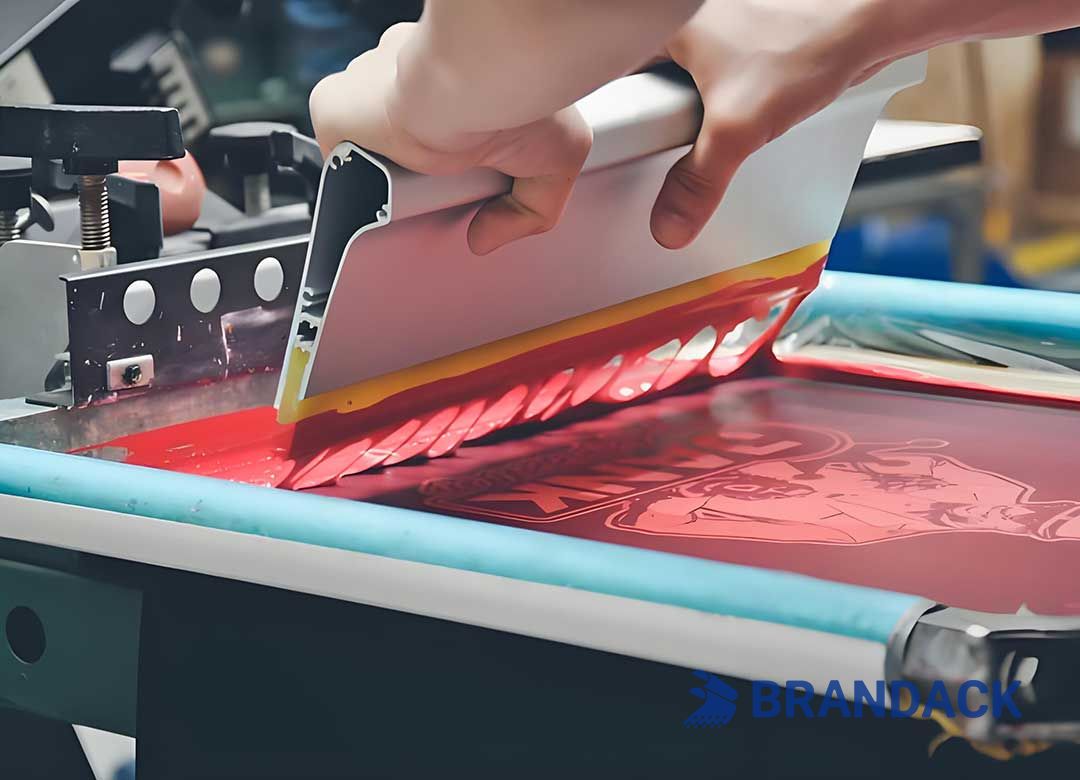
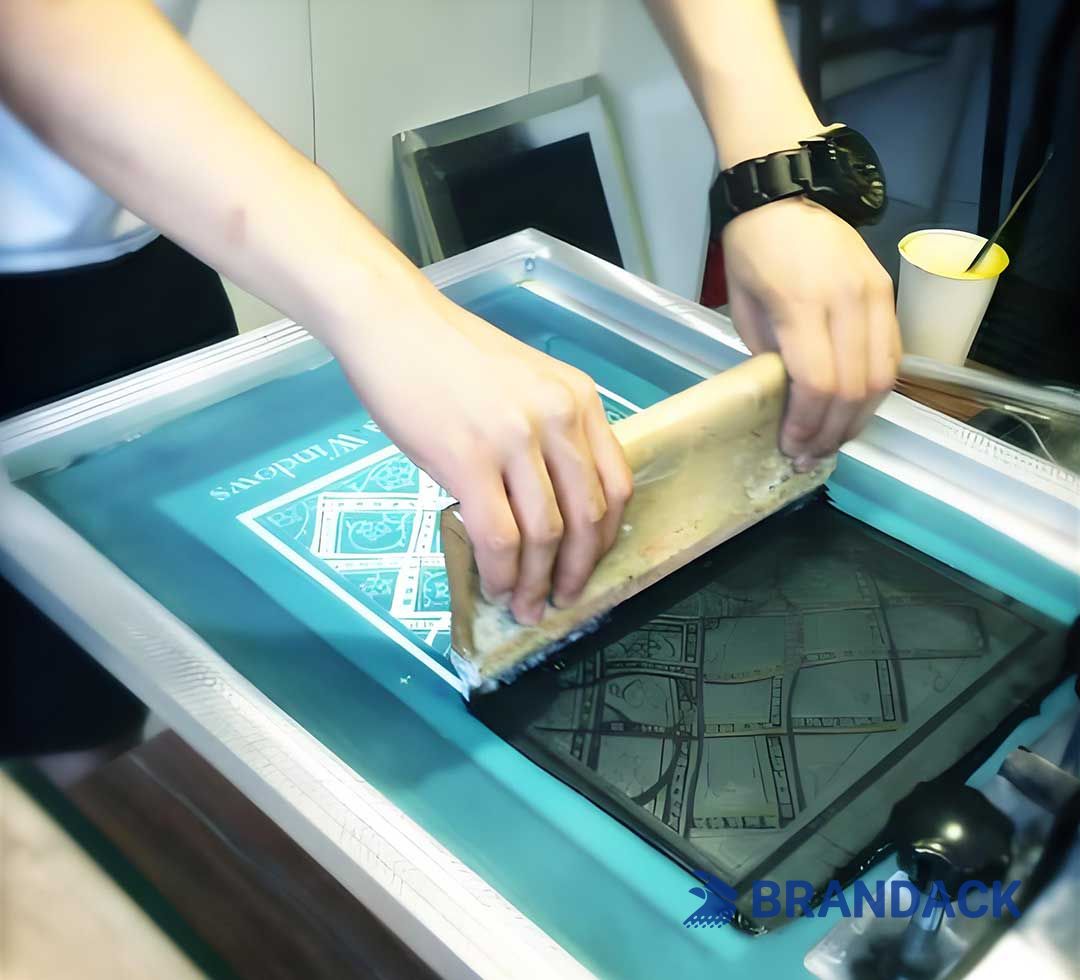
Apply consistent pressure with a squeegee (45-60° angle) to push ink through the mesh, ensuring even coverage without ink bleed.
1.5 Drying & Curing
Proper curing ensures ink longevity:
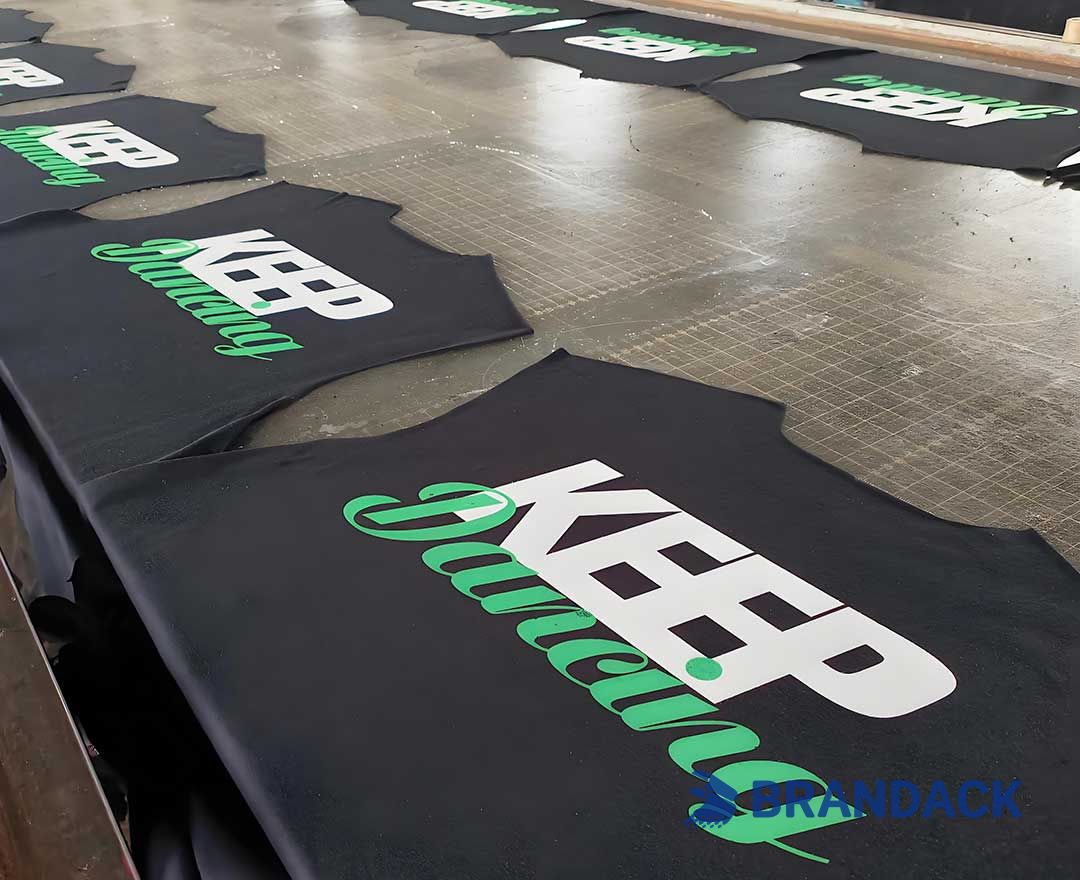
Use heat tunnels (150-180°C for fabric inks, 80-120°C for packaging inks) or UV lamps (for UV-curable inks) to set the ink.
Cure for the recommended time (5-15 minutes, depending on ink type) to avoid peeling or fading - test adhesion by gently rubbing the print after cooling.
2. Quality Control: Safeguarding Print Quality
We believe quality is non-negotiable. Our quality checks include:
P Color Matching: Using Pantone standards to ensure consistency.
P Registration Accuracy: Guaranteeing crisp, aligned layers.
P Durability Testing: Assessing adhesion, scratch resistance, and washability.
P Final Inspection: Every product is reviewed for defects before delivery.
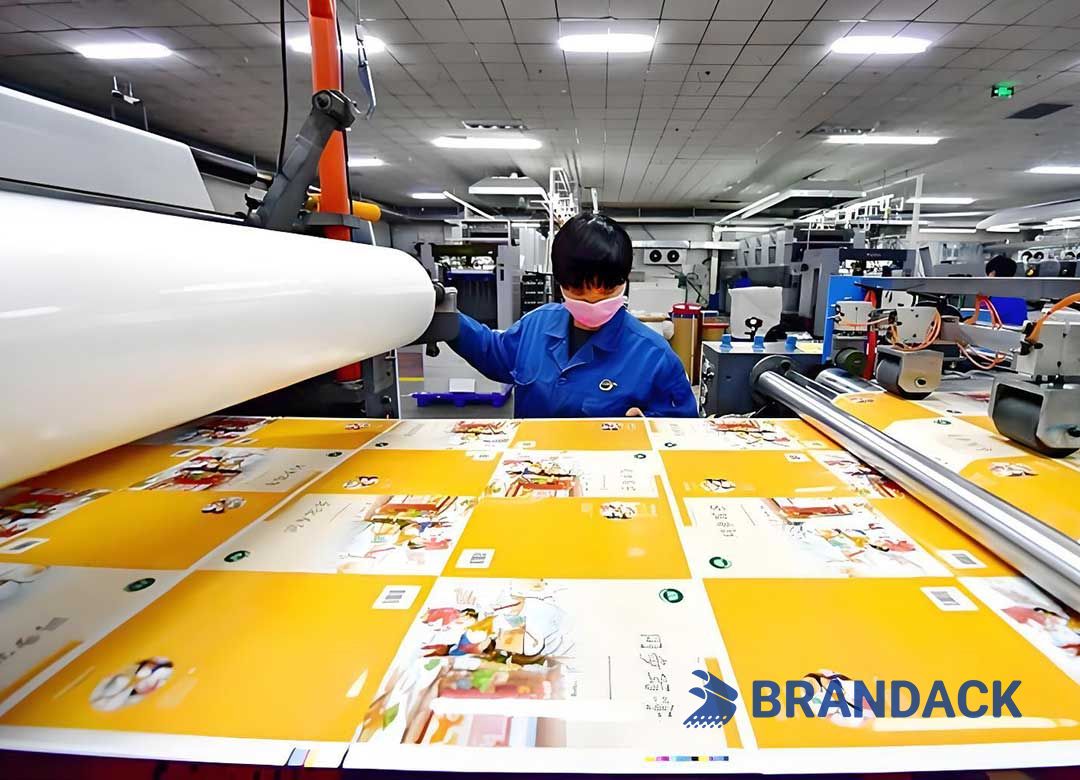
QC is non-negotiable to meet brand standards. Our process includes three critical stages:
2.1 Pre-Production Sample Validation
Before full production, we provide a physical sample for your approval:
Verify color accuracy against PMS codes and design fidelity (e.g., text readability, logo sharpness).
Test durability: For packaging, check ink resistance to handling; for fabrics, test wash fastness (3 washes at 30°C).
Adjust processes (e.g., mesh count, ink type) if the sample fails any check - no production starts until you approve.
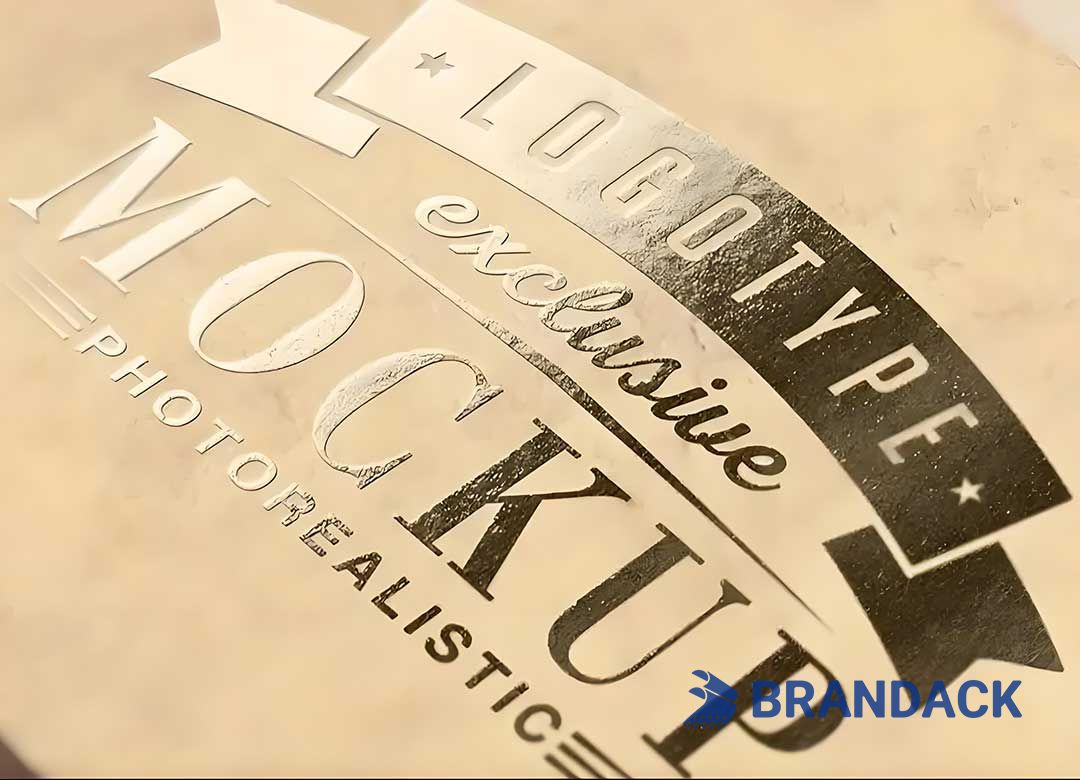
2.2 In-Production Real-Time Monitoring
We don’t just "set and forget" - our team checks prints continuously:
Every 10-15 units, inspect for: color deviation (use a spectrophotometer), misalignment (multi-color prints), ink smudges, or missing details.
Adjust the screen, squeegee pressure, or curing time immediately if issues arise to minimize waste.
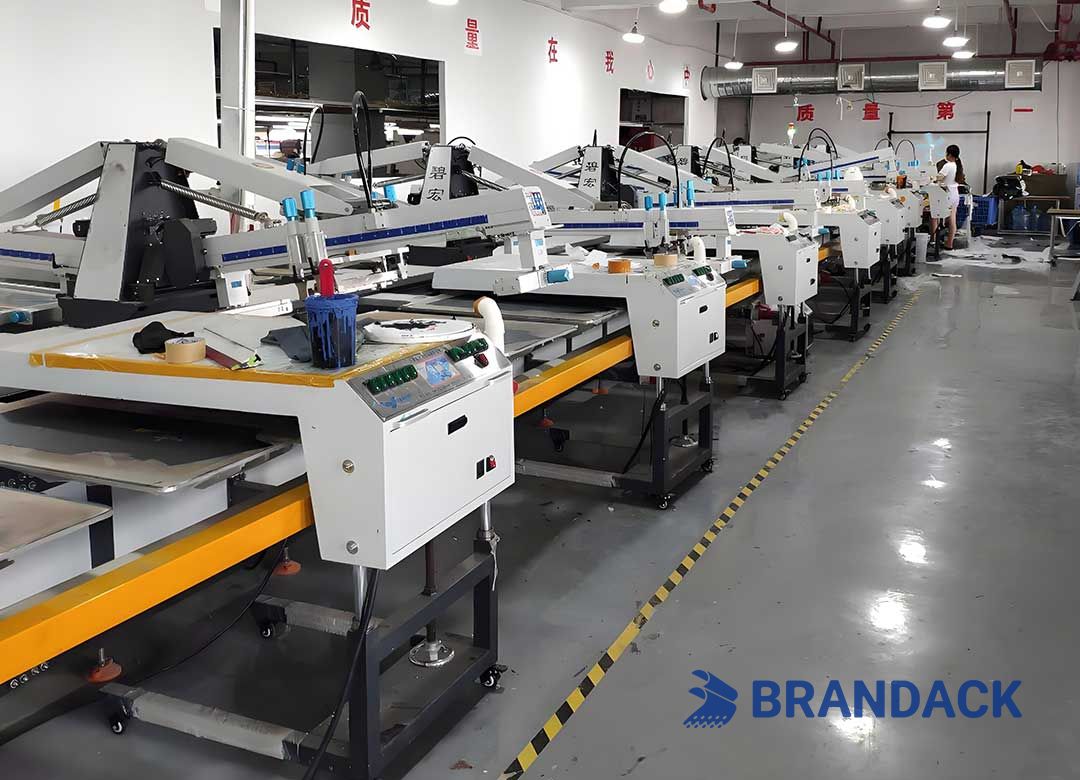
2.3 Post-Production Final Inspection
Before shipping, every unit undergoes a final check:
Inspect for visual defects (scratches, ink runs) and confirm consistent sizing/placement.
Randomly sample 5-10% of the order for additional durability tests (e.g., scratch resistance for packaging, stretch tests for fabrics).
Document all QC results - we share this report with you for transparency.
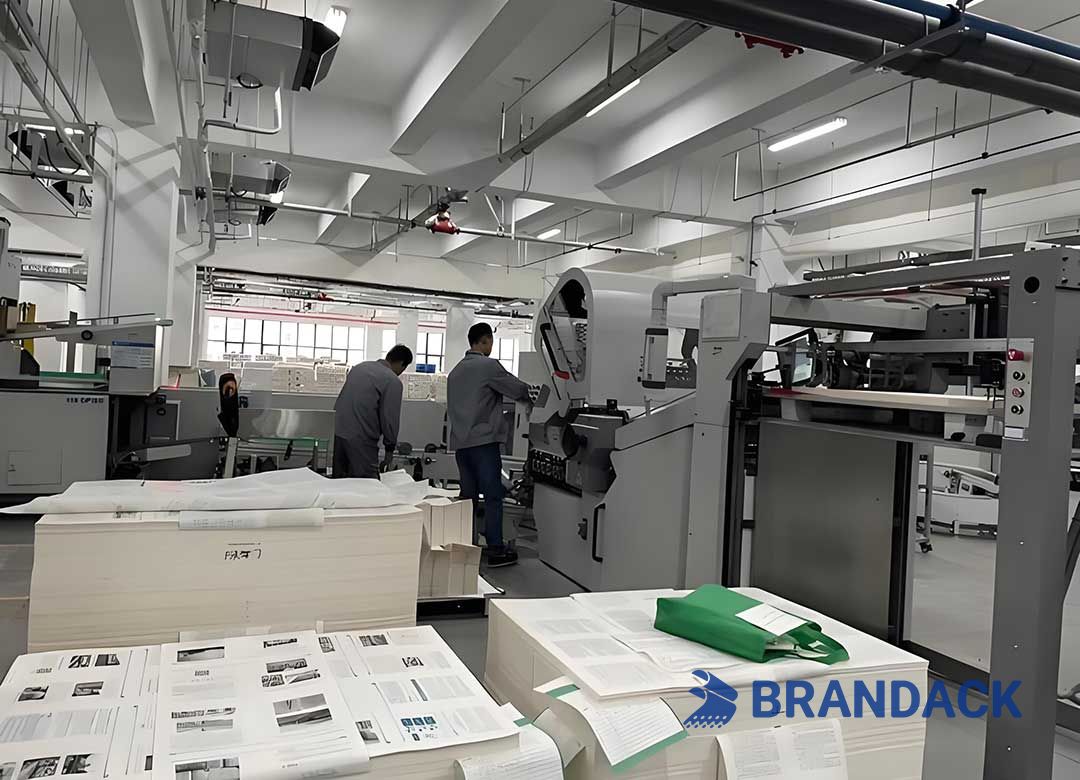
3. Why Partner with Us for Custom Screen Printing?
Our expertise turns these essentials into reliable results:
We use high-tension screens (reducing misalignment by 90%) and eco-friendly inks (compliant with EU REACH and US FDA standards for packaging).
Our team has 5+ years of experience in custom packaging and apparel printing - we solve unique challenges (e.g., curved packaging, thin substrates).
We tailor processes to your needs: Whether you need 50 promotional items or 5,000 packaging panels, we scale without compromising quality.
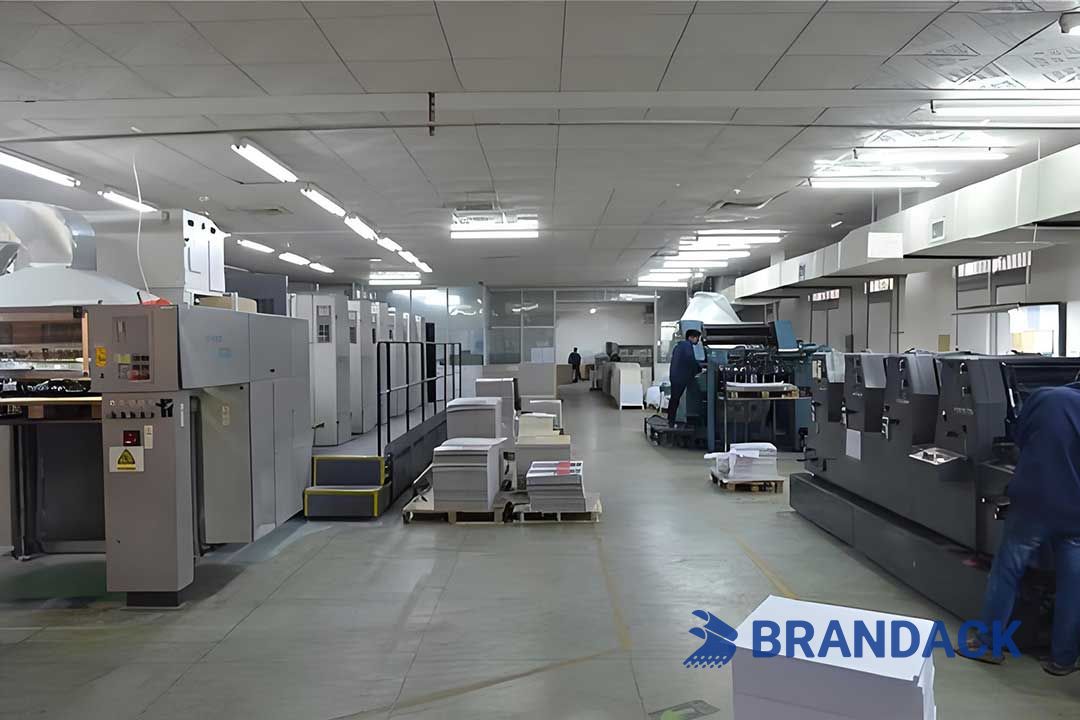
Silkscreen printing’s success lies in mastering processes and QC. This knowledge base is your go-to resource for questions - but our experts are here to help. Contact us to discuss your custom printing needs, and let’s create prints that elevate your brand.
4. Get Started Today:
Contact us to discuss your next project or request a sample pack to experience our print quality firsthand.
